How To Draw A Griffin
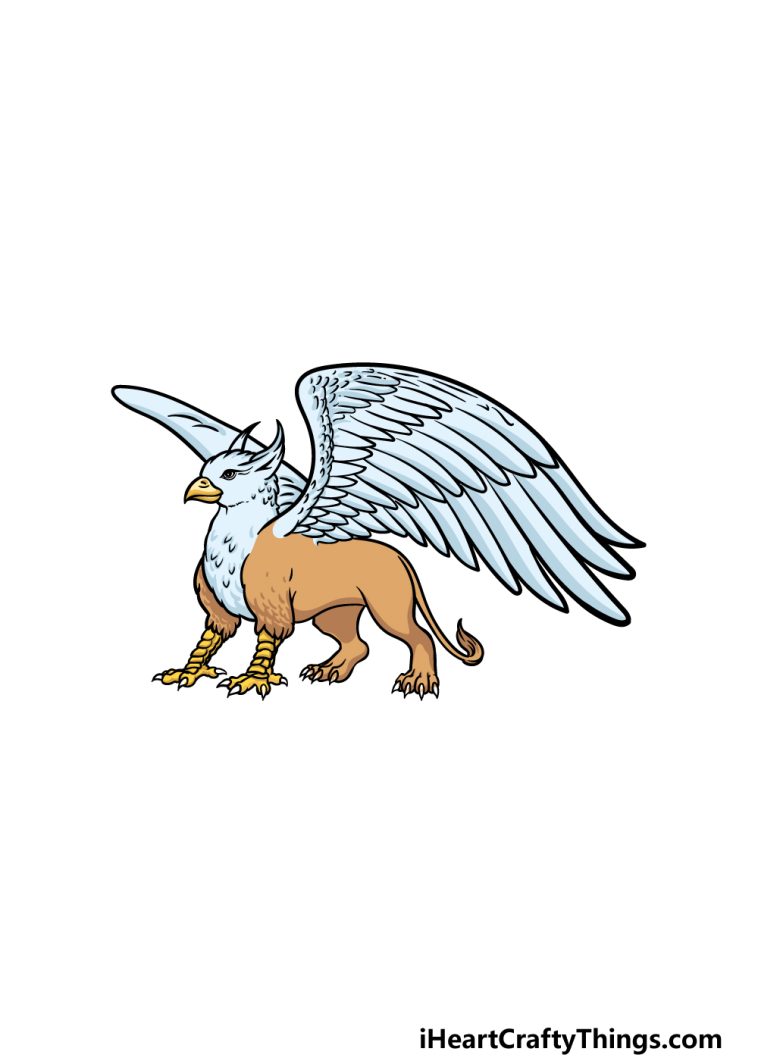
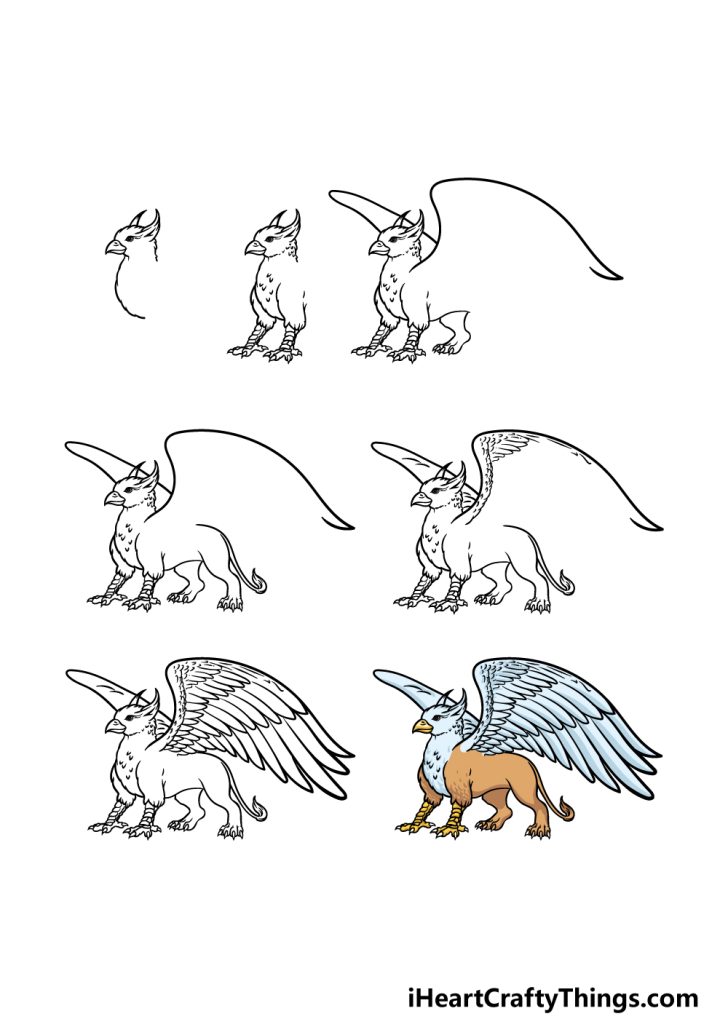
How To Draw A Griffin - Web how to draw griffin. You will start this first step on how to draw a cartoon griffin by drawing the guidelines and shapes like you. Sharpie (or something to draw with) paper (we use marker paper) markers to color with (we use bianyo) colored pencils (sometimes we also use prismacolor colored pencils) visit our art supply page for more information about the. Time to color our drawing of a griffin! Web complete the griffin drawing. Web this circle should be even smaller. Depict the big rounded eyes and eyebrow. Use a long curved line for the front of the chest and face, another for the back. Web firstly, draw three different circles to help you mark the position of the head and torso. Thirdly, draw the protrusion with a curved line and add a few short strokes on the back of the head. Draw a series of lines that connect the major shapes. Thirdly, draw the protrusion with a curved line and add a few short strokes on the back of the head. Now, color the head and tip of its tail with a white crayon. Drawing such fantastical beings can be both exciting and challenging, especially for beginners. Draw the head and ear. The arc on the bottom should be a tiny bit smaller and thinner than the one on top. Connect these with a series of u shaped lines, forming a tuft of birdlike feathers on the back of the head. This part of your griffin drawing will see you adding the final back leg for the creature. Draw the outline of the torso. Then, shade the torso with a light gray crayon. Sharpie (or something to draw with) paper (we use marker paper) markers to color with (we use bianyo) colored pencils (sometimes we also use prismacolor colored pencils) visit our art supply page for more information about the. Web hey art friends! Draw the back and buttocks. The arc on the bottom should be a tiny bit smaller and thinner than. Draw a series of lines that connect the major shapes. Use a long curved line for the front of the chest and face, another for the back. Buckbeak, according to the ancients, had a gryphon for a father, and a horse for a mother. However, learning how to draw a griffin can be a bit tricky. Begin by outlining the. Create the talons by adding small triangles at the end of the paws. Web start with an eagle’s beak. The front legs, head, and wings are of an eagle while the back legs, tail, and overall body are of a lion. Here are a few tips to help you on your way: Web add the griffin’s beak, ears, wings, legs. Web add the griffin’s beak, ears, wings, legs and upper arms. Draw a series of lines that connect the major shapes. Art supplies ~ this is a list of the supplies we used, but fee. Secondly, connect the circles using curved lines. Detail the shape of the ears, legs, wings and eye. Here are a few tips to help you on your way: With a few smooth lines sketch out the top of the head and add the outline of the feathers. Draw the outline of the torso. Draw the back and buttocks. And a pair of overlapping wings. Web our guide is designed to help beginners learn how to draw a bonsai tree step by step. Thirdly, draw the protrusion with a curved line and add a few short strokes on the back of the head. First, fill in the eyes with black and white crayons. Web like almost all of the magical animals from the harry potter. Draw the eagle’s beak by sketching a triangle shape on the head. Thirdly, draw the protrusion with a curved line and add a few short strokes on the back of the head. Sharpie (or something to draw with) paper (we use marker paper) markers to color with (we use bianyo) colored pencils (sometimes we also use prismacolor colored pencils) visit. Draw the back and buttocks. Draw the neck and chest with a series of zigzag curves. Sketch the wings by drawing two large triangles behind the lion’s shoulders. Use a light brown crayon to color the hind legs and tail. Much like the dragon, griffins are thought to be. First, fill in the eyes with black and white crayons. But with a little practice and patience, you can unleash your inner artist and get to grips with sketching one of these mythological beasts. Web like almost all of the magical animals from the harry potter books, the hippogryph is taken from ancient mythology. Use some more curved lines to. Draw the neck and chest with a series of zigzag curves. In this cool lesson, we'll be learning a few tips and tricks on how to draw a griffon. Web drawing a griffin is tortuously tricky. Web learn how to draw a cute cartoon griffin with hadley in this fun art lesson. Today, we're learning how to draw a really. Draw the back and buttocks. A perfect activity for kids who love mythical creatures. Draw the head and ear. Use some more curved lines to draw the other back leg next to the other one. Detail the shape of the ears, legs, wings and eye. Web the griffin, with the body of a lion and the head, wings, and talons of a giant eagle, is undeniably cool and captivating. Add the eyes by drawing two circles on the head. Web add the griffin’s beak, ears, wings, legs and upper arms. This part of your griffin drawing will see you adding the final back leg for the creature. Draw the eye, tongue, pasterns, toes and fur on the legs, tail and wing linings of the griffin. Draw the eagle’s beak by sketching a triangle shape on the head. Sketch the wings by drawing two large triangles behind the lion’s shoulders. However, learning how to draw a griffin can be a bit tricky. How to draw a griffin. Web hey art friends! Web start with an eagle’s beak.
How to Draw a Griffin Really Easy Drawing Tutorial
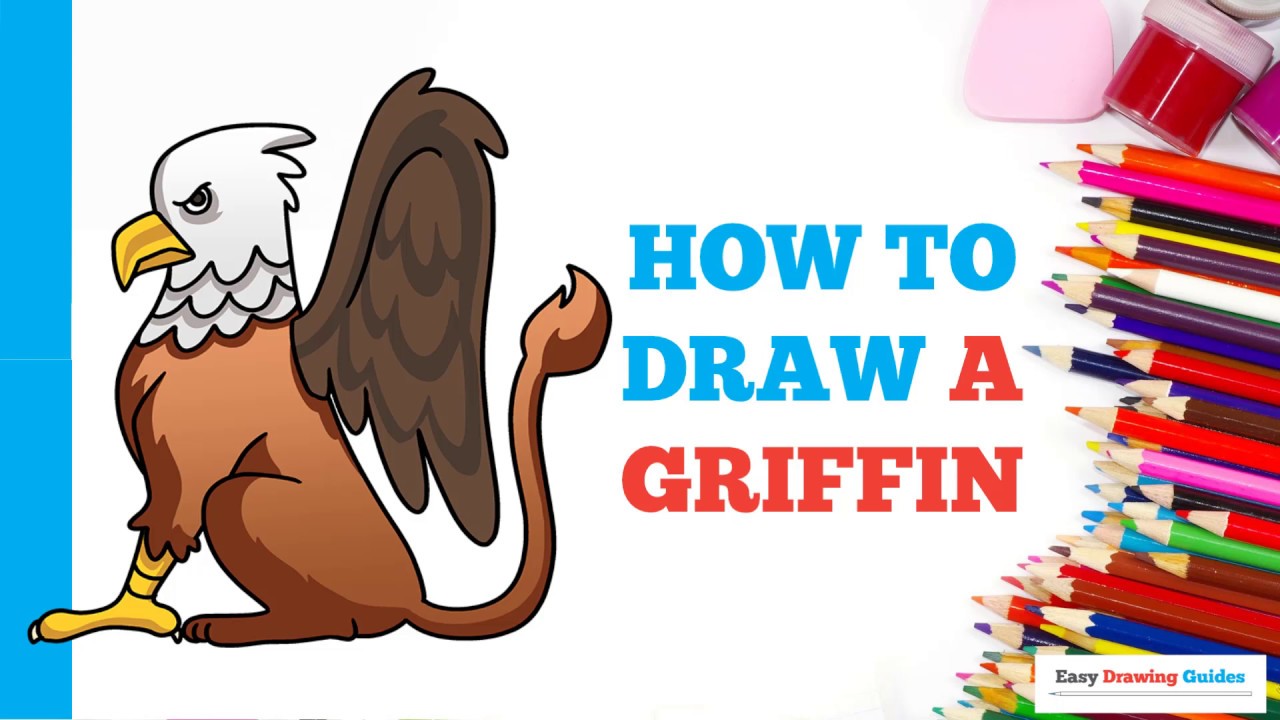
Griffin Drawing How To Draw A Griffin Step By Step
How to Draw a Griffin in a Few Easy Steps Drawing Tutorial for

How To Draw A Griffin Art For Kids Hub
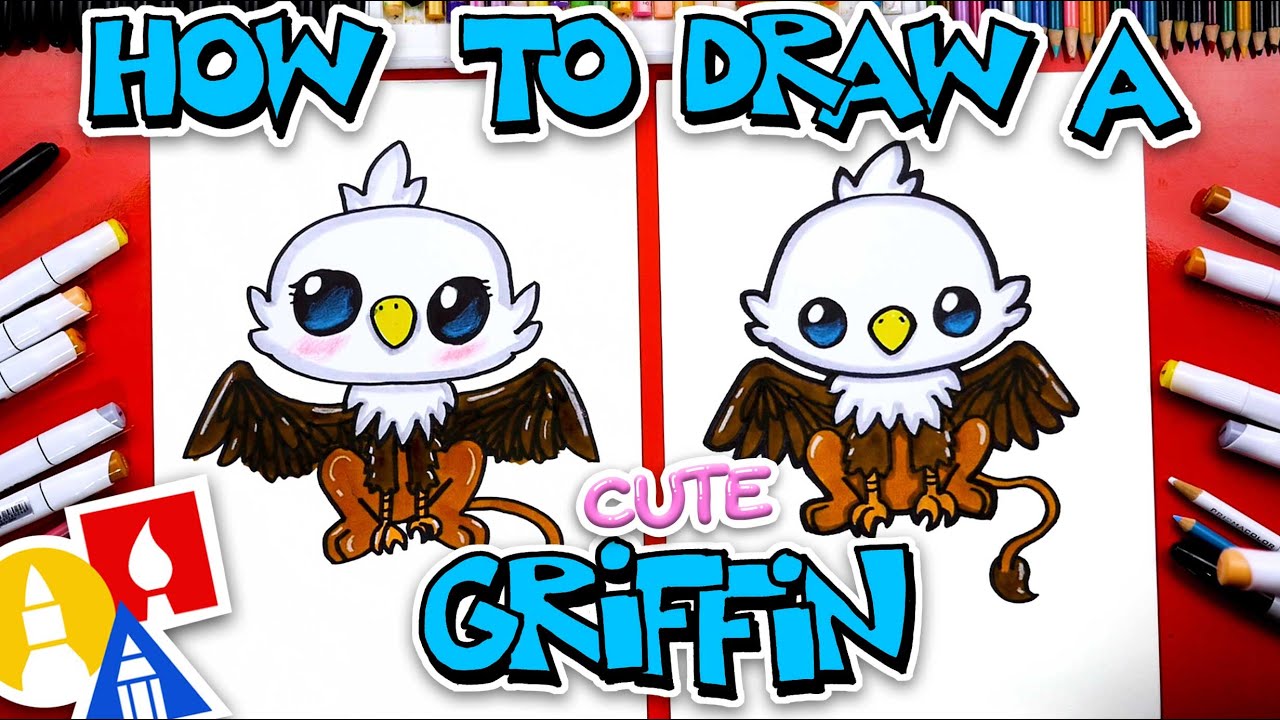
How To Draw A Cute Cartoon Griffin YouTube

How to Draw a Griffin Really Easy Drawing Tutorial

How to Draw a Griffin Really Easy Drawing Tutorial

How to Draw a Griffin YouTube

How to Draw a Griffin Really Easy Drawing Tutorial
Griffin Drawing How To Draw A Griffin Step By Step
Web This Circle Should Be Even Smaller.
Time To Color Our Drawing Of A Griffin!
Depict The Big Rounded Eyes And Eyebrow.
Thirdly, Draw The Protrusion With A Curved Line And Add A Few Short Strokes On The Back Of The Head.
Related Post: