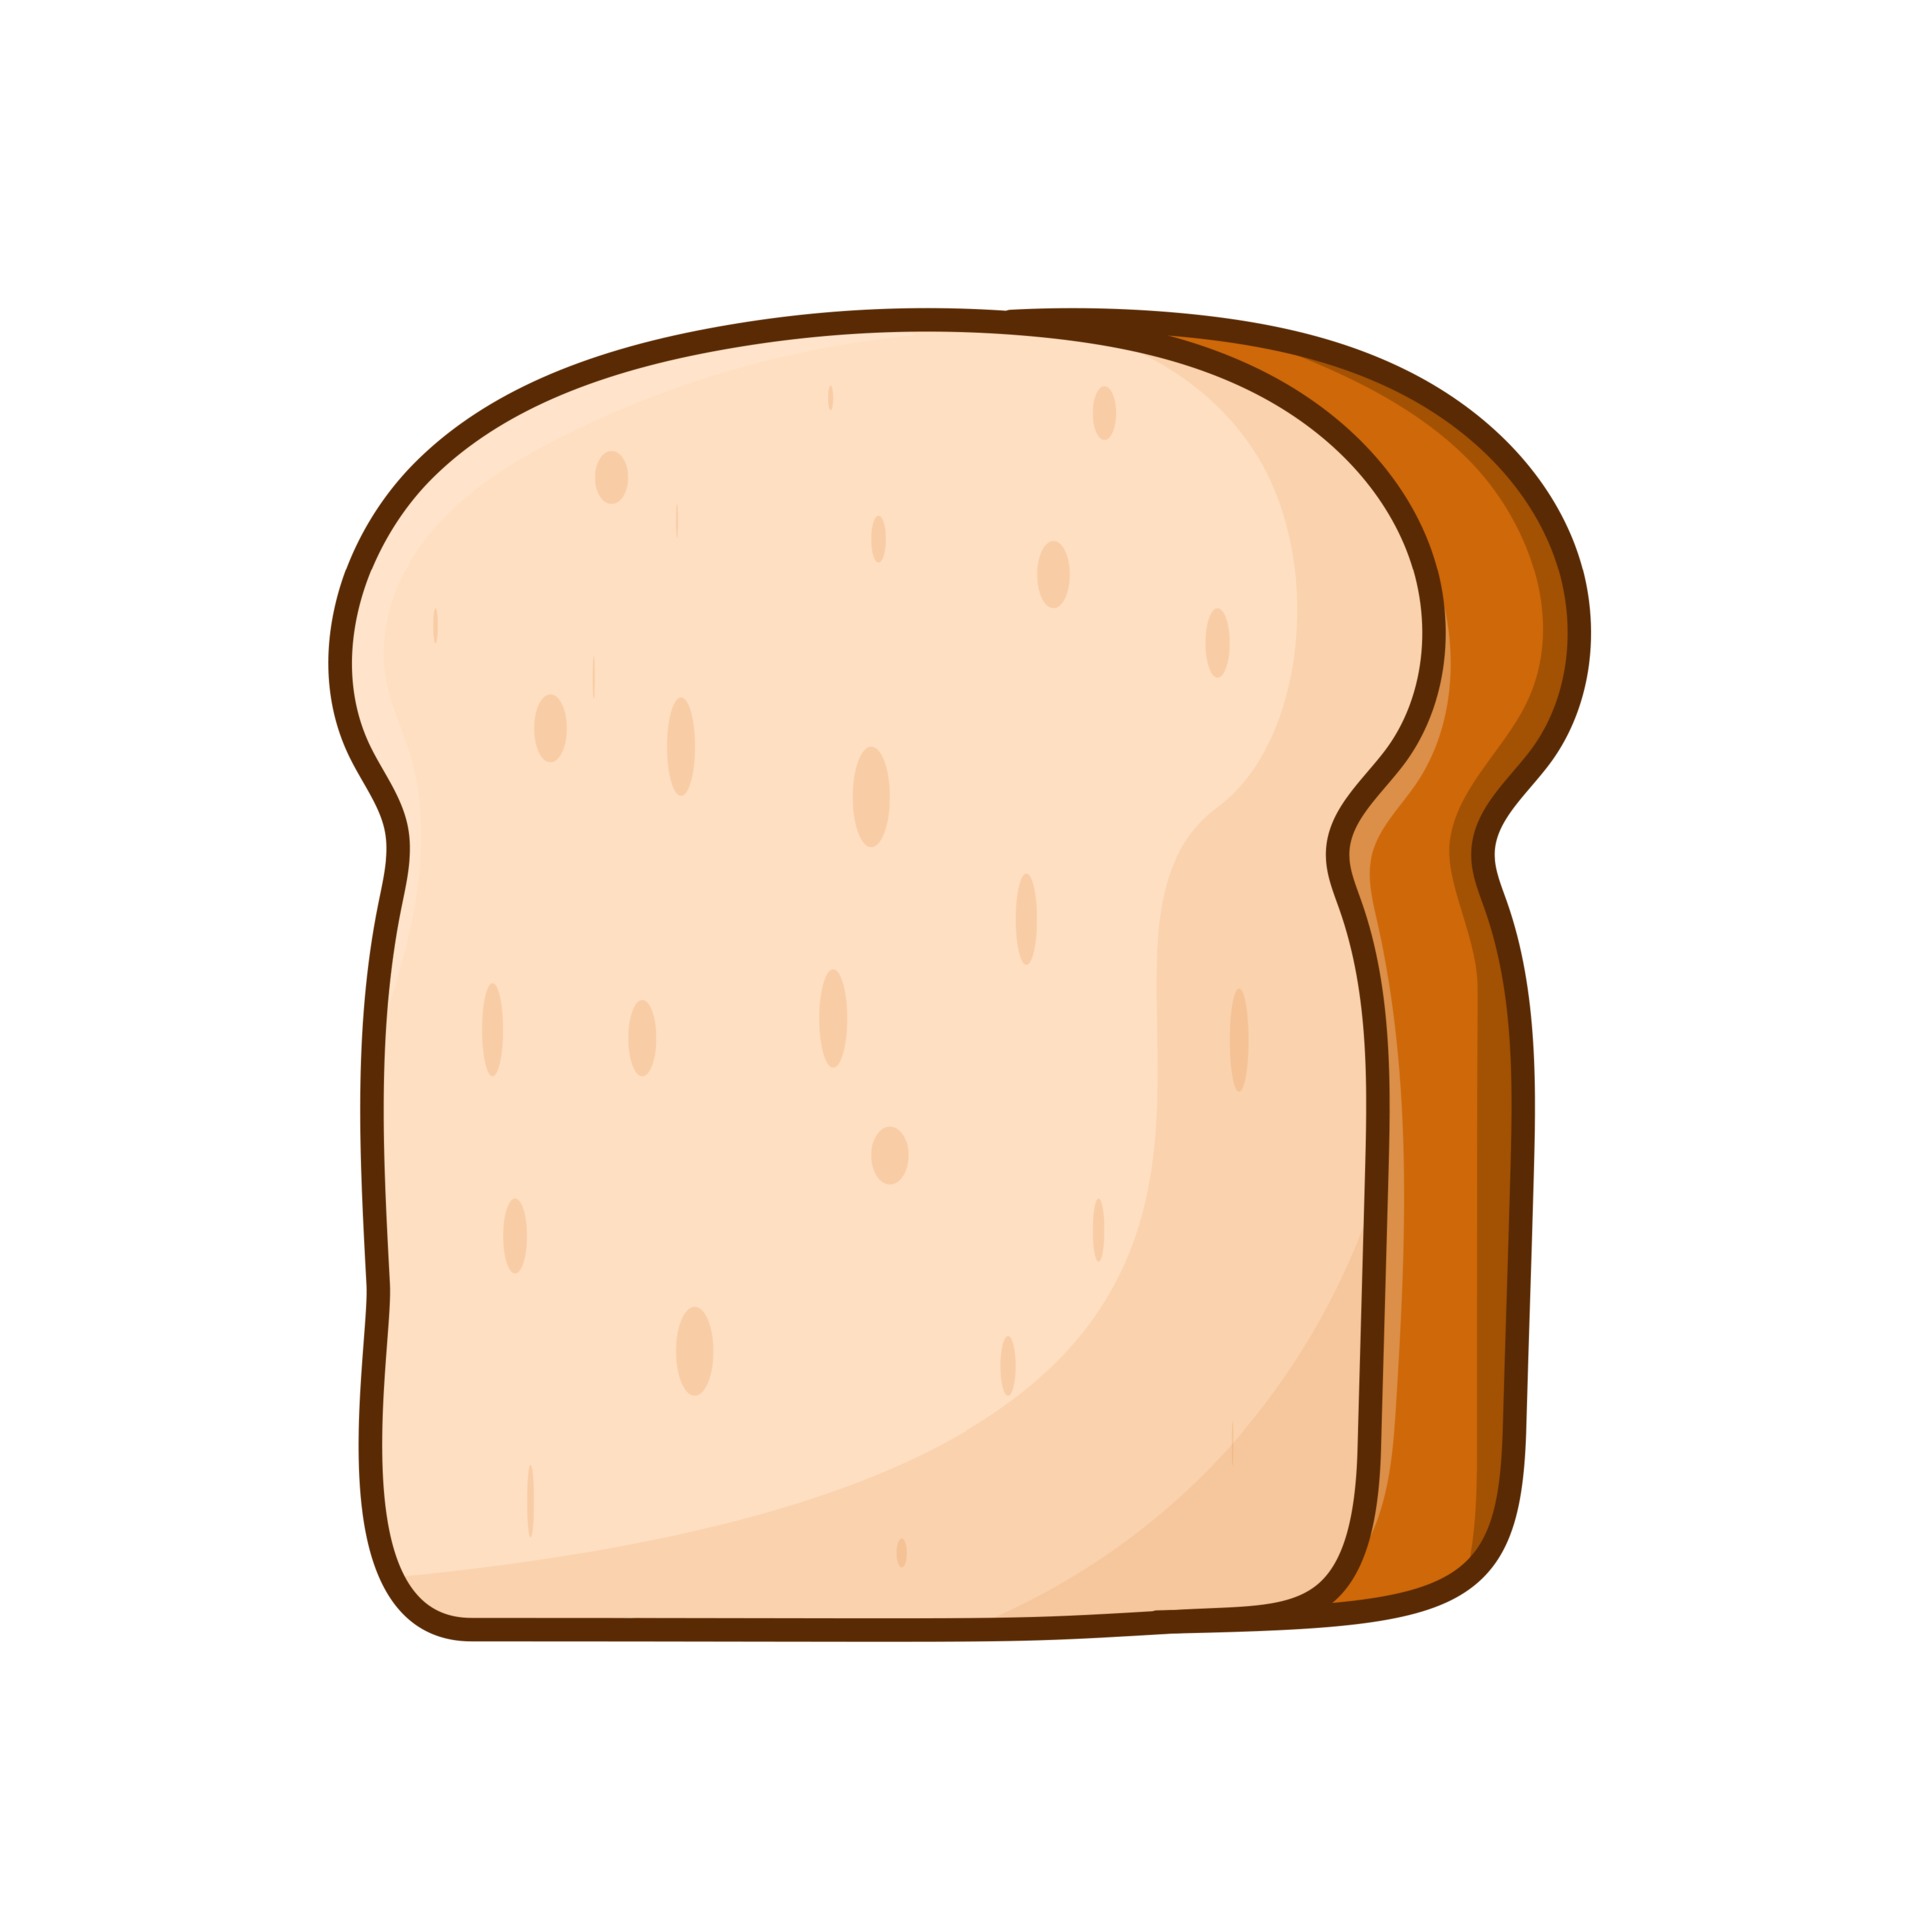
Bread Slice Drawing
Bread Slice Drawing - At the top part, draw a big circle for some eyes. Whether you're a beginner or an artist looking to improve your drawing skills, this tutorial is perfect for you! Gluten food bakery engraved collection. Begin by drawing the front of the of the bread/toast slice. We’re not going to use too much anatomy, so this is really just background information. First, let’s take a quick look at the anatomy of the hand. Bread vector hand drawn set illustration. In this video, we'll show you how to draw an absolutely adorable bread slice step by step. This will become a slice of bread. Start with the rounded “cap” at the top and then draw each side joining them at the bottom. Then, add another curved line below to create the bread’s crust. These lines should be slightly curved and go through the surface of the bread. Whether you're a beginner or an artist looking to improve your drawing skills, this tutorial is perfect for you! At the top part, draw a big circle for some eyes. Gluten food bakery engraved collection. Web the bread slice technique for drawing hands. Let’s make their eyes so cute. Web how to draw a realistic bread slice || bread slice drawing tutorial for beginnersin this video, we'll show you how to draw a realistic bread slice step by st. The overall shape of the bottom part of the slice (below the cap) should loosely resemble a square. First, let’s take a quick look at the anatomy of the hand. Repeat the steps for the other eye. 100,000+ vectors, stock photos & psd files. Web welcome to our channel's delightful drawing tutorial! Web learn how to draw a cute slice of toasted bread wearing a chef hat and neck tie, holding a butter knife and a slab of butter. At the end of this tutorial, i’ll also share how to. Start shading the bread to give it. Now add another layer of sliced bread just below the first one. Then, add another curved line below to create the bread’s crust. Other types of wheat, flour fresh bread. For the very first step of this tutorial, let’s start with one end of the slice of. Web find & download free graphic resources for slice bread drawing. So first, draw a widened ‘c’ curve using a brown pen. Web now, let’s bring this slice of bread to life. Other types of wheat, flour fresh bread. (step 5) draw a sideways letter ‘v’ shape for the right eye. Web what is your request drawing?please comment below. Web the bread slice technique for drawing hands. But more on that later. Free for commercial use high quality images This is the start of the bread crust But more on that later. All with the help of a slice of bread. (step 3) draw a curved line for a smile. Draw a curved line connecting opposite corners of the slice, following the contours of. At the end of this tutorial, i’ll also share how to color in this slice of bread drawing that makes it look accurate. Other types of wheat, flour fresh bread. But more on that later. Follow along as we guide you through the process of creating a delicious. Remember to make the slices uneven and slightly jagged to give them a realistic appearance. Today, we’re going to make drawing hands easy (or at least easier!). (step 3) draw a curved line for a smile. We’re not going to use too much anatomy, so this is really just background information. Kids and beginners alike can now draw a great bread. (step 4) draw an oval for the left eye. Web how to draw a realistic bread slice || bread slice drawing tutorial for beginners in this. So first, draw a widened ‘c’ curve using a brown pen. How to draw a bread slice what you’ll. Web the bread slice technique for drawing hands. Web hello friends,in this video we will drawing and coloring a bread slice using markers and colored pencils.thank you for watching,hopefully useful and can help. These lines should be slightly curved and go. Begin by drawing the front of the of the bread/toast slice. Steps for drawing a slice of bread step 1. We’re not going to use too much anatomy, so this is really just background information. Start with the rounded “cap” at the top and then draw each side joining them at the bottom. (step 2) draw a rounded square. Start with the rounded “cap” at the top and then draw each side joining them at the bottom. Web join our community and access our free references: Toast with jam breakfast icon in thin line style. So first, draw a widened ‘c’ curve using a brown pen. (step 4) draw an oval for the left eye. But more on that later. At the top part, draw a big circle for some eyes. (step 5) draw a sideways letter ‘v’ shape for the right eye. So, add two small circles for highlights, a curved line at the bottom, and shade at the top. Web learn to draw bread. In this video, we'll show you how to draw an absolutely adorable bread slice step by step. Web now, let’s bring this slice of bread to life. Start shading the bread to give it. We’re not going to use too much anatomy, so this is really just background information. Follow along as we guide you through the process of creating a delicious. Draw a curved line connecting opposite corners of the slice, following the contours of. Web welcome to our channel's delightful drawing tutorial! (step 4) draw an oval for the left eye. Web how to draw a realistic bread slice || bread slice drawing tutorial for beginners in this video, we'll show you how to draw a realistic bread slice step by step. For the very first step of this tutorial, let’s start with one end of the slice of. Web the bread slice technique for drawing hands.
how to draw a bread step by step YouTube
Bread Slice Vector Art, Icons, and Graphics for Free Download
Drawing Of A Slice Of Bread at Explore collection

How to Draw Bread HelloArtsy

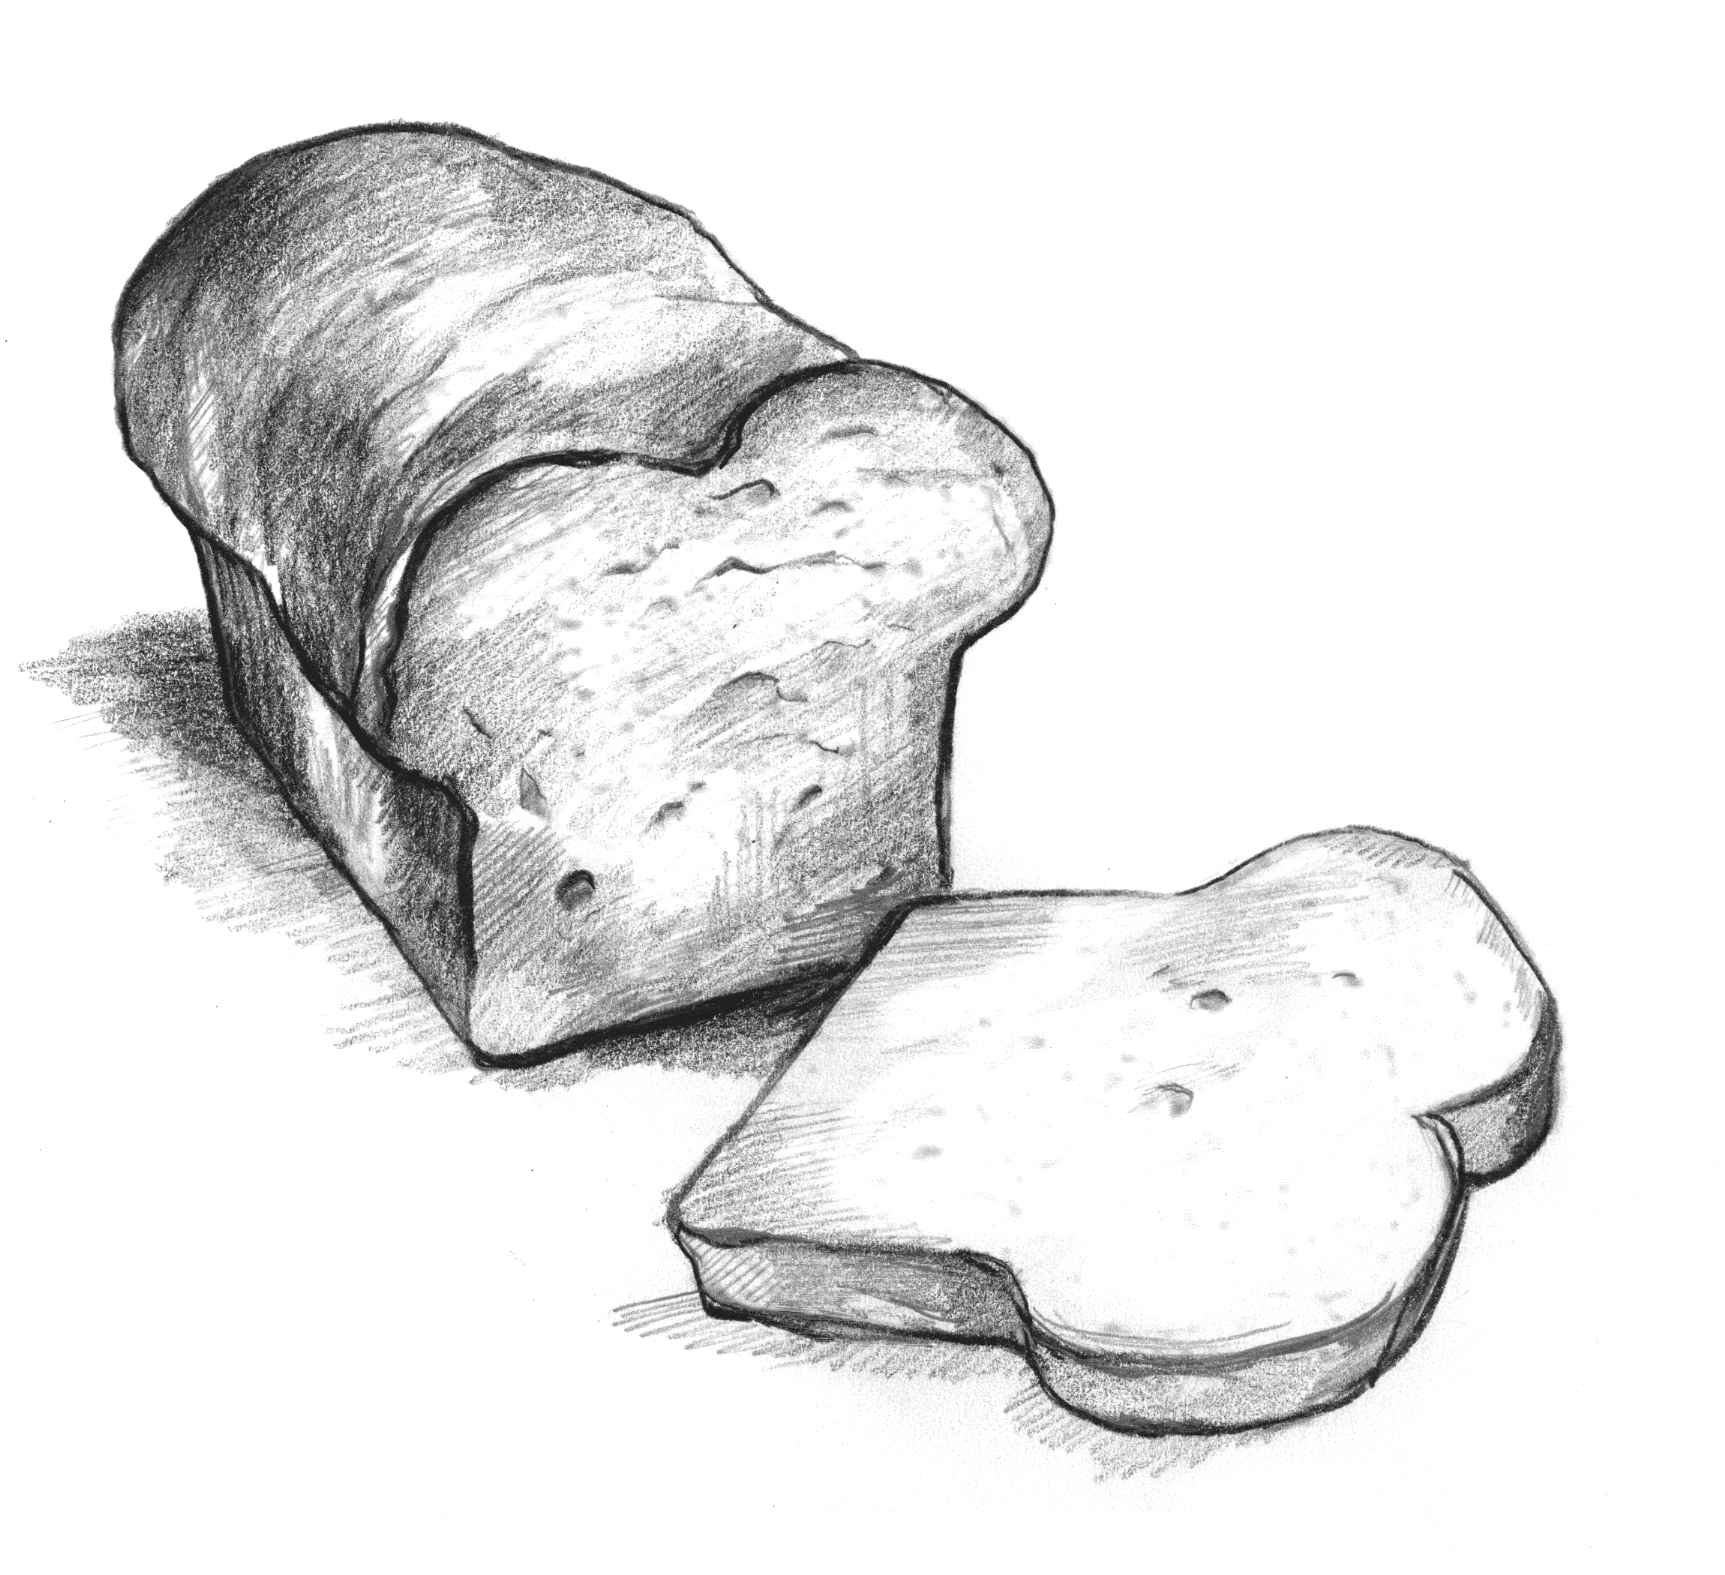
Loaf Of Bread Sketch at Explore collection of Loaf
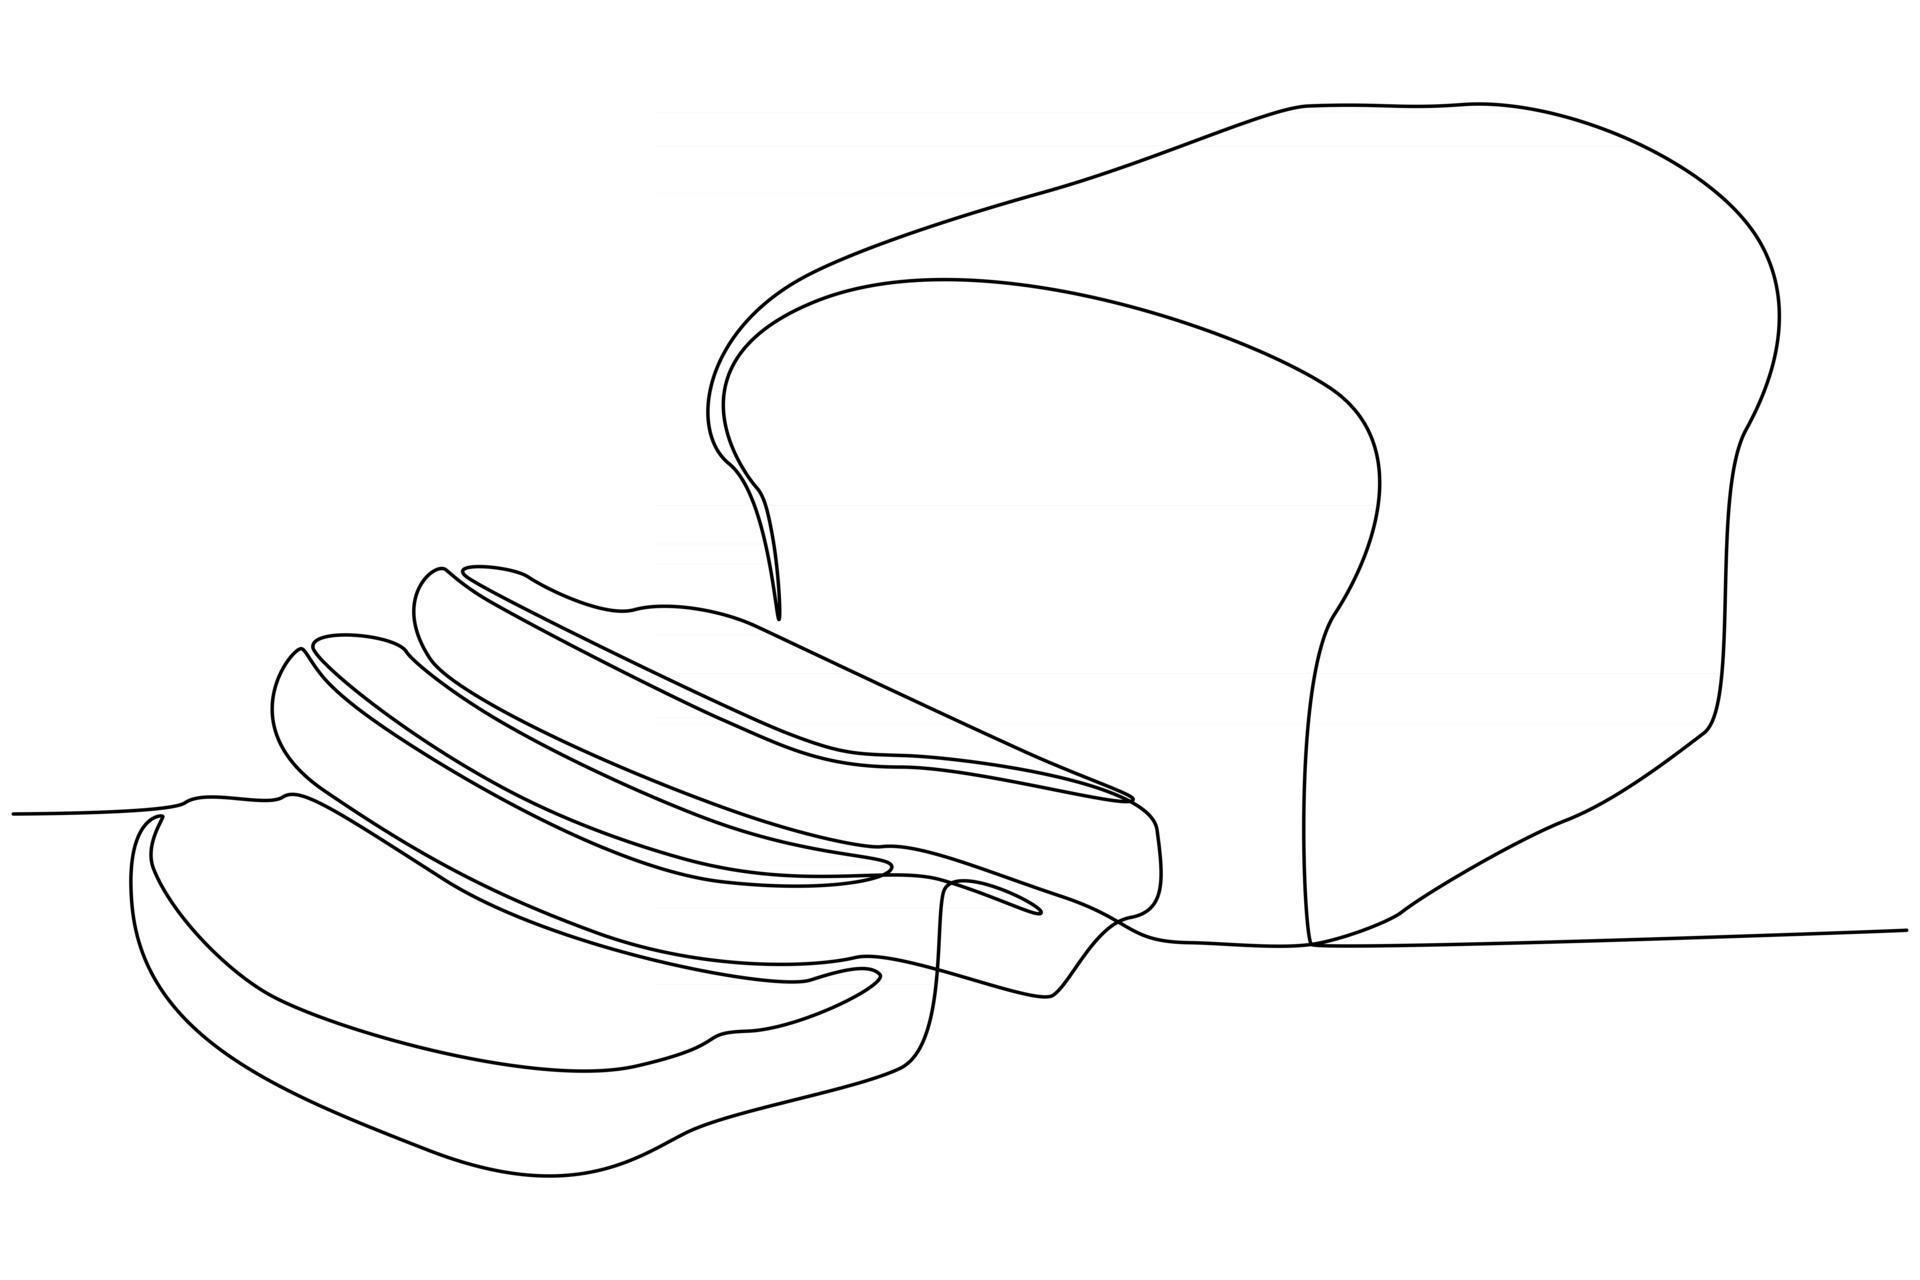
continuous line drawing of slices of bread vector illustration 2781385

how to draw bread step by step YouTube

How To Draw A Slice of Bread (Step By Step) Bujo Babe

Sketch sliced bread Royalty Free Vector Image VectorStock

How to Draw Bread HelloArtsy
Today, We’re Going To Make Drawing Hands Easy (Or At Least Easier!).
How To Draw A Cute Bread,Bread Slice Drawing,How To Draw Bread Easy,.
So First, Draw A Widened ‘C’ Curve Using A Brown Pen.
First, Let’s Take A Quick Look At The Anatomy Of The Hand.
Related Post: